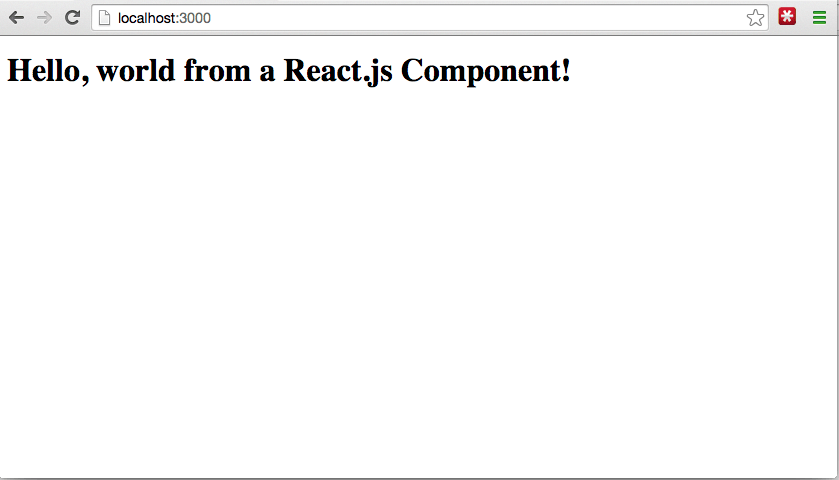
Welcome to part 2 of my tutorial on how to get a website up and running using React.js and Node.js. You can read Part 1 here if you haven’t already.
In this part of the tutorial, we are going to make our React.js/Express.js app more like a full-fledged web application with the addition of a build system called Gulp.js. Gulp.js is a build system (or task runner) that I have been using for a while. There are many, many, many out there, but I find Gulp.js to be very sufficient for my needs.
Installing Gulp
Installing Gulp is very similar as to how we installed Express in the last tutorial, we need to add the --save-dev flag to save gulp to our devDependencies portion of the package.json file. Run:
$ npm install --save-dev gulpNow with Gulp installed, we can create our basic gulpfile.js file:
var gulp = require("gulp");

gulp.task("default", function () {
  // place code for your default task here
});
Now we need to install the Gulp packages that we will need to build our application. To start, let’s install browserify, reactify and vinyl-source-stream. To install these packages, run the following command:
$ npm install --save-dev react browserify reactify vinyl-source-streamAt this point, we can remove react-tools from our devDependencies since we no longer need to build our .jsx files via the command line. Your devDependencies should look like this:
"devDependencies": {
    "browserify": "^8.1.3",
    "gulp": "^3.8.10",
    "react": "^0.12.2",
    "reactify": "^1.0.0",
    "vinyl-source-stream": "^1.0.0"
}
Setting up Gulp
The next step is to set up Gulp to automatically build our .jsx files into usable javascript. To do this, we are going to create a Gulp task. A Gulp task is a function that will stream a bunch of steps transforming our .jsx to javascript. We will need to modify our gulpfile.js to look like this:
var gulp = require("gulp");

var browserify = require("browserify");
var reactify = require("reactify");
var source = require("vinyl-source-stream");

gulp.task("js", function () {
  browserify("./public/javascripts/src/app.jsx")
    .transform(reactify)
    .bundle()
    .pipe(source("app.js"))
    .pipe(gulp.dest("public/javascripts/build/"));
});

gulp.task("default", ["js"]);
Now running gulp from the command line will trigger the build of our React app; however, there are some things we need to do to our react app first!
Browserifying React
There are some things we need to do to our application before browserify will work. Last tutorial we wrote a helloworld.jsx, now we need to modify this slightly to work with browserify. If you don’t know browserify is a tool for compiling node-flavored commonjs modules for the browser. So let’s modify our React code to work with browserify.
First, we need to create an “entry point” for browersify, we can do this by simply creating an app.jsx file:
var React = require("react");
var HelloWorld = require("./HelloWorld.jsx");

React.render(<HelloWorld />, document.getElementById("example"));
This file is taking our HelloWorld component and rendering it in the div with id “example”. This code is taken from our original helloworld.jsx file from last tutorial. Instead of doing everything in that file, we are now requiring a module HelloWorld and rendering it in app.jsx. The reason for this is that as our application gets more complex, we have more control of how our files are broken out.
The next thing is that we have is modify our existing helloworld.jsx file to be a React component named HelloWorld.jsx. This is easily done and our HelloWorld.jsx file now looks like this:
var React = require("react");

module.exports = React.createClass({
  render: function () {
    return <h1>Hello, world from a React.js Component!</h1>;
  },
});
Notice that the HelloWorld.jsx and app.jsx files are combined to be very similar to how the ‘helloworld.jsx’ looked. Again, the reason for breaking our app into these two files are for future modules to be added.
Now, running gulp will create a javascript file in public/javascripts/build/ called app.js and it will have everything we need to run our React app. Let’s add this to our layout.jade file instead of the react.min.js and helloworld.js files:
doctype html html head title= title link(rel='stylesheet', href='/stylesheets/style.css') body block content
script(src='/javascripts/build/app.js')
There you have it, a React application being built with Gulp using browersify!

Gulp Watch
To make Gulp even better, let’s implement the built-in watch functionality to have gulp watch for changes in our .jsx files and automatically build our javascript. To do this, we want to add the following task to our gulpfile.js:
gulp.task("watch", function () {
  gulp.watch("public/javascripts/src/**/*.jsx", ["js"]);
});
Also add that task to your default Gulp task:
gulp.task("default", ["js", "watch"]);Now when we run gulp it will watch for changes in our .jsx and rebuild our javascript with that change! Awesome!
Next Time
Next time we will continue to use Gulp to build out some more niceties when building a web application, introduce Bower, and finally get to building some of the React Components we will use in our job board.
